

Level 4: Atlena


Level 4: Atlena
Atlena is where the difficulty of the game is going to pick up a bit. I have to confess that a long time ago, when I first got this game, I made it through Galadonia, Tori, and Deeso rather quickly, but then had my mind blown when I got to Atlena. For some reason, I had difficulty interpreting the perspective in some rooms and thus believed some of the keys and tokens were unreachable. Actually, the jumps turned out to be pretty simple, they just looked impossible. There was also the issue of having to get keys in one part of the dungeon, then leave and enter another part to use them elsewhere that was too confusing for someone who was playing without mapping. I actually quit playing the game here and didn't come back until several years later, at which point I started over from the beginning and mapped my way through the entire game. This is the reason I will take you through this dungeon in such a way that you'll build up a supply of keys and do as little backtracking as possible.
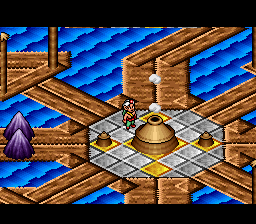  There are two ways to get to Atlena. One is to cross the bridge from Tori that the ghost of Quetzalcoatl previously blocked. The other is to leap over to a small island with four columns on it off the coast of Deeso. (This method is explained in the codes section.) Either way you do it, look for the dungeon entrance that is in the large central area of the floating planks, just SE of that island off of Deeso. (See my screenshots for the correct map and overworld locations.) Walk into it. 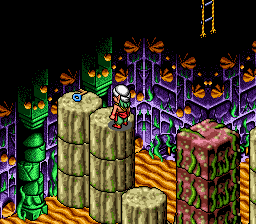 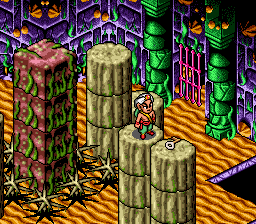 You'll land in Room 04-17. Make a huge leap in a NW direction to land on the blocks with the Blue Key. You'll have to walk as far off the starting platform as possible without falling before making your jump, or you won't make it. When you've got the key, leap back across to the starting platform, then leap again in a SE direction to get the White Key. Leap back to the starting block, then exit back to the overworld via the ladder. 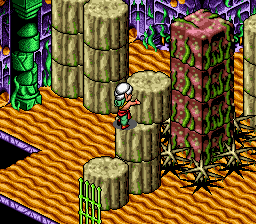 If you fall off the upper platforms, push against the blocks on the lower floor in front of the green door to make a "staircase" back up to the starting point. Either way you do it, exit back to the overworld.  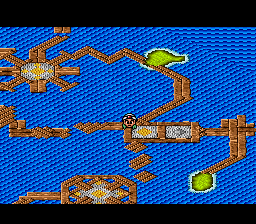 Look for another dungeon entrance on the eastern side of Atlena. It is right next to a stone cross block. (See my screenshots for the correct map and overworld locations.) Walk into it. 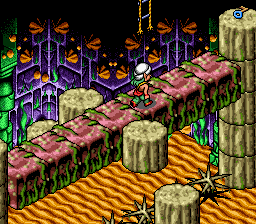 You'll land in Room 04-1E. Kill the White Ghost, then get the Blue Key and the Green Key from the platforms. They're very easy to get to, even though the path has some conveyor belt blocks on it. Get both and exit back to the overworld again. 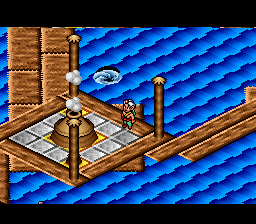 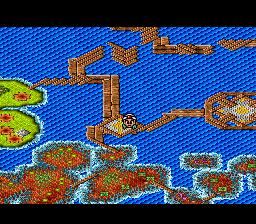 Look for the southwestern-most dungeon entrance in Atlena. It is near a whirlpool that werebats fly out of and very close to the bridge to Quagmire where you can see the ghost of Pincha blocking it. (See my screenshots for the correct map and overworld locations.) Walk into it. 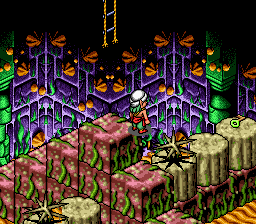 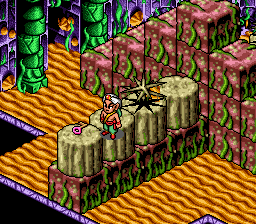 You'll land in Room 04-24. Make a long NE leap off the starting block to get to the Green Key. You'll have to jump at the last possible moment before falling off or else you won't make it over the spikes. When you've got the key, fall down to the floor, jump up the staircase of blocks back to the starting point, and this time make a long leap SW to get the Red Key. Exit NW. 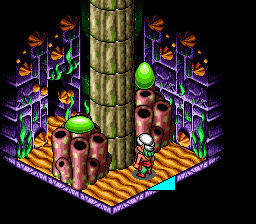 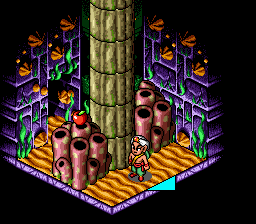 Kill the two Green Blobs in Room 04-25 to get a Green Apple. Note that these blobs can be very difficult to kill with your weapon because the room is so small and they home right in on you. Therefore, I suggest using the Damage spell you got in Deeso to kill them before they have a chance to move. Exit NW. 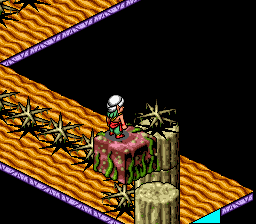 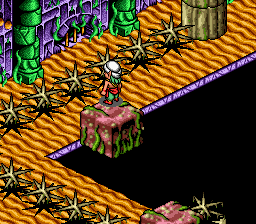 In Room 04-26, jump onto the white floor platform, then from there to the moving red block. Jump from that block to another moving red block and ride it across the room. 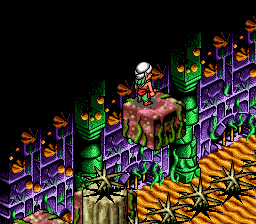 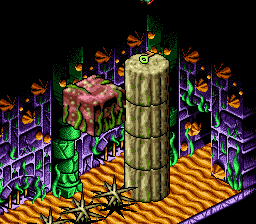 Jump from that moving block to another and ride it across the room to the column with the Green Key. Fall down and walk back to the corner of the "L" shape in the room. See those two red blocks against the back wall? Walk between them, NW into the wall. You'll go through a hidden door. 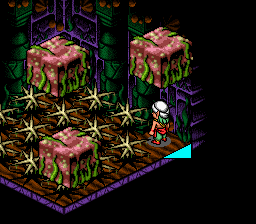 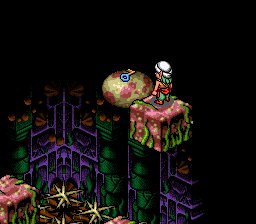 Use the floating platforms in Room 04-18 to get up to the Blue Key. Do not jump to the other side of the room, instead go back out SE the way you came in, back into Room 04-26, and this time exit NE. 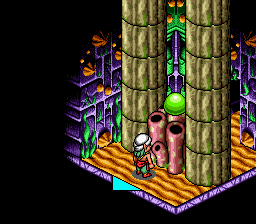 Kill the Green Blob in Room 04-27 for a Red Apple. Again, you might want to use the Damage spell. Exit NE. 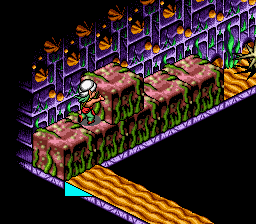  In Room 04-28, push the red block until it slides down the conveyor blocks into the floor space below. Use it to bend your jump around the spike in the corner. 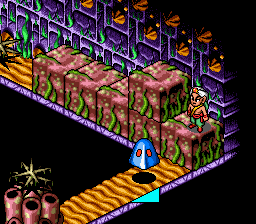 Kill the Blue Ghost and ignore the SE arrow for now. Walk past it, all the way down to the coral block with the spike on top. Face NW and walk into the dark space. You'll go through a hidden door.  Use the moving platform in Room 04-29 to get up to the White Key. When you've got it, go back out SE the way you came in, then exit SE from Room 04-28 (via the arrow I told you to ignore before.)  Kill the Green Blobs in Room 04-2A to get a Green Potion. Exit SE. 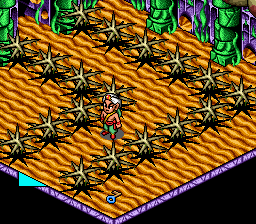 In Room 04-2B, you will see a Blue Key, but you cannot get to it just yet. Just follow the path between the spikes to the SW door for now and exit. 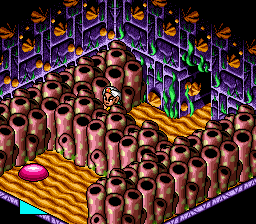 Kill the Red Blob in Room 04-2C for a Red Apple. You might want to use your Damage spell again, but here's a tip when fighting blobs: They all use the same pattern. They jump straight up once, and on the next jump, they leap towards you. So it's always, straight up, towards you, straight up, towards you, etc. With this knowledge, you can shoot at them as they leap up, then move out of the way before they leap at you. When you're done, exit SW. 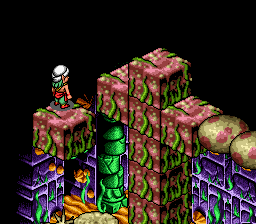 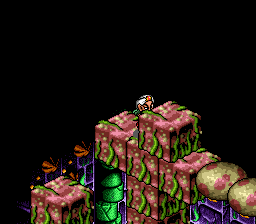 In Room 04-2D, jump on the moving platform and then leap over to the ledge of platforms at the back upper part of the room. Push the red block until it starts sliding down the conveyor rocks. Follow it. 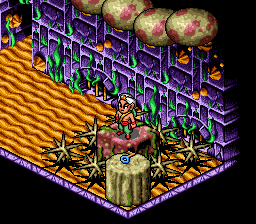 It will fall off and land in the pit of spikes below. Jump down onto it and get the Blue Key. I hate to do this to you, but you now have to backtrack all the way to Room 04-24, the room you started in. Starting from Room 04-2D, go back through 04-2C, 04-2B, 04-2A, 04-28, 04-27, 04-26, 04-25, to 04-24. From 04-24, exit SE through the White Door. 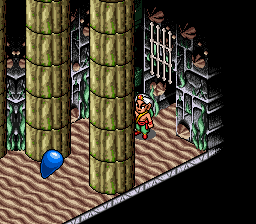 Kill the Blue Blob in Room 04-23 for a White Apple, then exit NE through the White Door. 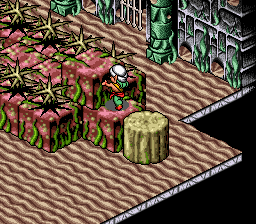 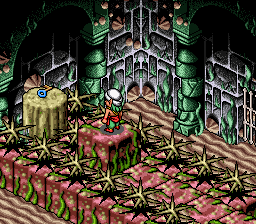 In Room 04-22, push the red block down the pathway between the two rows of spikes. When it gets to the end, use it to leap to the Blue Key.  Ignore the White Door for now and instead, walk in a SE direction from it, straight into the wall. You will go through a hidden SE door. (See where Glendaal in standing in my screenshot? The hidden door is directly behind him.) 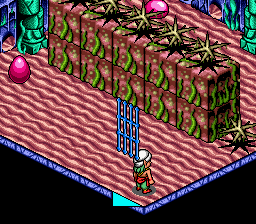 There are two Red Blobs in Room 04-0D. Kill them to get the first Token (1). It's about time we found a token, huh? Exit NE through the Blue Door. 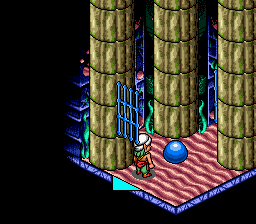 As soon as you enter Room 04-0B, immediately step to the right. If you don't, the Blue Blob will pounce on you before you have a chance to react. Use your Damage spell to kill it, or attack it with your weapon using the method I described above. (Attack it when it leaps straight up, move out of its way when it leaps towards you. Blobs always follow a pattern of straight up, towards, straight up, towards, etc., so it is possible to "dance" around it.) Pick up the Blue Apple it drops whether or not you need it so this enemy won't ever bother you again. Exit NE through the Blue Door.  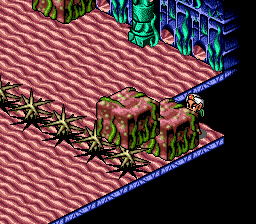 In Romo 04-0A, push the red block that's on the floor out away from the spikes, then start pushing it in a SE direction towards the bottom end of the room. (It doesn't matter if you initially push it NE or SW, just get it away from the spikes.) When it's SE as far as it goes, use it as a stepping stone to get to the moving platforms. 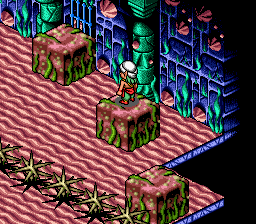  Jump across the moving platforms to the Green Key. Jump back down to the floor and exit NE through the Blue Door.  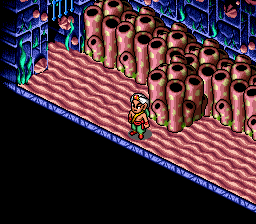 Kill the Red Devil in Room 04-08 to get a Red Apple. Now, see where that piece of coral juts out from the rest in the row against the back wall. Stand in front of it, face SW, and walk forward. You'll go through a hidden door. 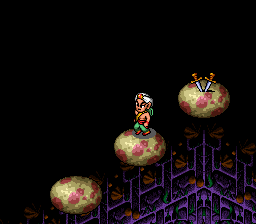 In Room 04-09, you'll have to leap up a series of rock platforms to get to the Twin Knife. Be careful because they act as conveyors that will quickly push you off, possibly onto spikes below. Just hold your position by jumping up and down, or pushing the control pad in the opposite direction that you're being shoved off. When you've got your new weapon, equip it, and then exit NE back to Room 04-08, then from there exit NW through the Blue Door. 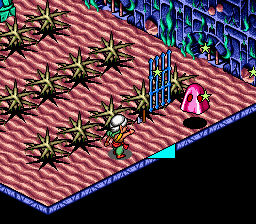  Kill the two Red Ghosts in Room 04-07 to get another Token (2). Exit NW through the Blue Door. 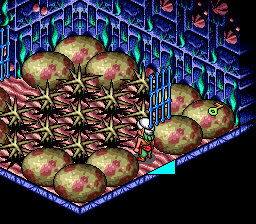 In Room 04-06, there is a Green Key that slides back and forth due to the conveyor belt effect of the rocks. Grab it when it comes your way and be careful not to get pushed off onto the spikes. When you've got it, ignore the other blue door for now, and exit back out SE the way you came in. Backtrack all the way to Room 04-0B (this is the small room where you fought the Blue Blob earlier). Walk into the NW wall and you'll exit through a hidden door.  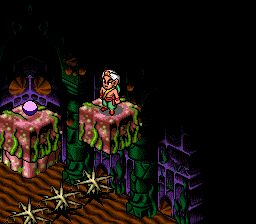 In Room 04-0C, stand on the block in the north corner and use it to jump to the moving block. Jump from there to the block with the Token (3). Exit NW. 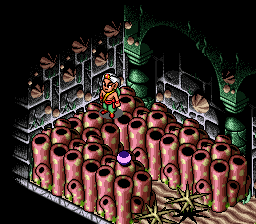 Note that you came out through a hidden door into Room 04-20. Kill the two Spinning Devils in here and get the Token (4). It's an easy one to get, just let the coral blocks convey you over to it. 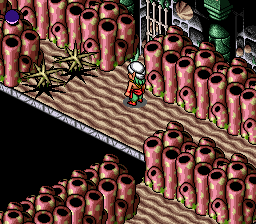 For the next step, you'll have to find the other hidden door in this room. Walk back towards the way you came in (ignore that White Door for now), and jump over the row of coral to the SW. You'll notice that there's another row of coral lining the NW wall of the lower part of the room, but there's a break it it at the corner of the "L". Walk NW into that break to go through another hidden door. 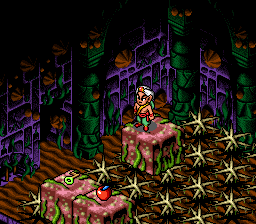 In Room 04-21, ride the moving blocks across the spikes, then jump over to get the Green Key and the Blue Apple if you need it. Then exit NW. 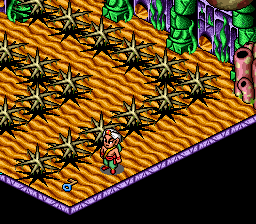 You'll come out through a hidden door in Room 04-2B, and now you can finally collect that Blue Key that you saw earlier. Exit SE back through the hidden door the way you came in and backtrack all the way back to Room 04-0D. To get there, starting at Room 04-2B, go SE through a hidden door to Room 04-21. From there SE to Room 04-20, SE through a hidden door to Room 04-0C, SE to Room 04-0B, SW to Room 04-0D. When you reach 04-0D, exit SW through the Blue Door. 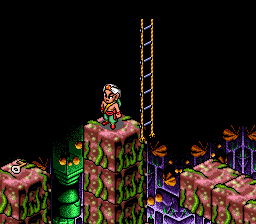 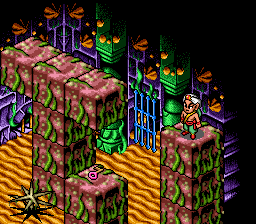 Room 04-0E is an overworld entrance/exit room, so you can leave and save your progress if you want. Come back down here when you're done, and get the White Key and the Red Key by leaping across to them from the upper platforms. When you've got both, exit SW through the Green Door. 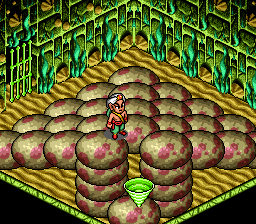 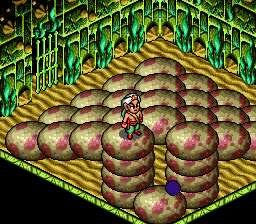 There is a Green Spinning Devil in Room 04-0F and the only way I know of to kill him is with the Damage spell because of where he's situated amongst the rocks. Kill him for another Token (5). Exit NW through the Green Door. 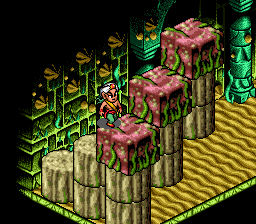 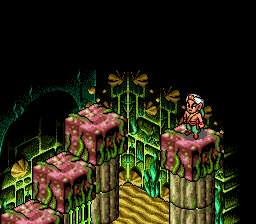 Good luck with Room 04-10! There is a Blue Key on a high platform over in the north corner, but it's very difficult to get to because the blocks all act as conveyors to push you off. Starting at the SW corner of the room, jump up the platforms and work your way NE. You'll have to hold your position on the blocks by jumping straight up and down or pushing the controller in the opposite direction that you're moved. It'll take some practice, but eventually you'll get it so don't give up. When you're done, ignore the other green door for now, and instead, exit out SE the way you came in. From Room 04-0F backtrack all the way to Room 04-06. To get there, exit NE from 04-0F to 04-0E, NE to 04-0D, NE 04-0B, NE to 04-0A, NE to 04-08, NW to 04-07, NW to 04-06. Now exit NW through the Blue Door that I told you to ignore earlier. 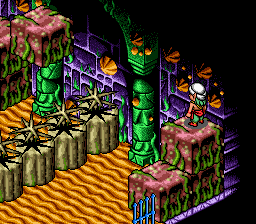 You'll end up in Room 04-05. Use the moving block to cross over the spikes. You might notice a Token in the lower part of the room, but you cannot get to it right now so don't worry about it. Instead, exit NW. 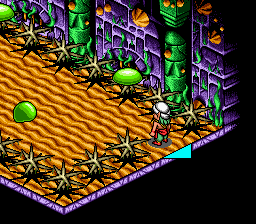 Kill the Green Blobs in Room 04-03 for a White Apple and exit NW. 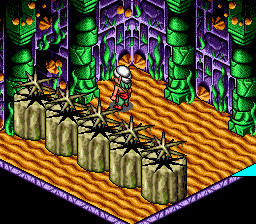 You'll see another token in Room 04-02, but you can't get it yet, so just exit NW. 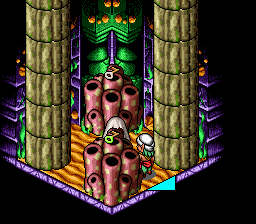 Room 04-01 has the easiest White Key and Green Key you've ever gotten. Take both from the coral blocks and exit NW. Incidentally, this is the room in which I once experienced a strange glitch. When I picked up the green key on the lower block, the white key on the upper block started warping around the room. Jumping on the block where it used to be caused me to pick it up anyway and it stopped warping around. I have only seen the glitch happen that one time and have never been able to duplicate it. 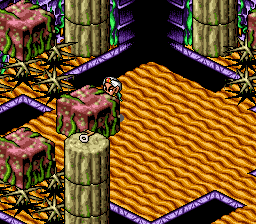 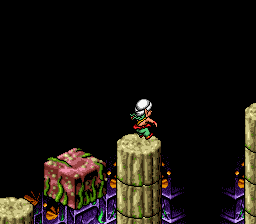 Room 04-00 has a White Key and a Red Key way up on the tops of the columns. Push the block in the middle of the room straight SW against the spikes. Use it to jump to the other block and it will rise up. Jump from there to the column to get the White Key. You'll have to reset the room to get the Red Key. Leave and come back to reset it. Now push the middle block straight NW and do the same thing to get the red key. When you've got both, you'll now want to backtrack all the way to Room 04-20. Here's how to get there. Starting in Room 04-00 exit SE to 04-01, SE to 04-02, SE to 04-03, SE to 04-05, SE to 04-06, SE to 04-07, SE to 04-08, SW to 04-0A, SW to 04-0B, NW through a hidden door to 04-0C, NW to 04-20. From there, exit NE through the White Door. 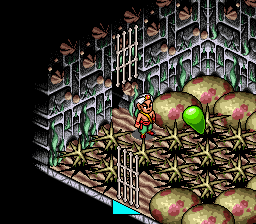 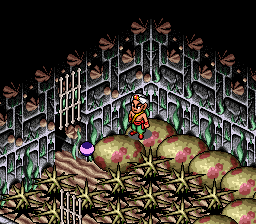 This will put you in Room 04-1F. Defeat the Green Blob for another Token (6). However, there's a good chance the Token will land on the spikes, so try to kill the blob when it's sitting on a normal safe part of the floor. (Note that it is possible to collect an item that is sitting on spikes provided that you leap to it, then leap immediately again as you come into contact with it. You'll collect the item, then leap again if you timed it right. However, the trajectory of your second jump must also cause you to land in a safe spot, or you'll die anyway.) When you're done, exit NW through the White Door. You'll be back in Room 04-1E, which I told you to go to at the very beginning of this walkthrough. You can exit to the overworld and save your game here, but when you're done, make sure you come back and exit NW through the Red Door.  Kill the two Blue Blobs in Room 04-1D to get a Green Apple. Ignore the other Red Door for now and stand in the gap between the two rows of coral blocks. Face the SW wall and walk into it. You'll go through a hidden door. 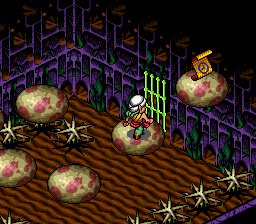 Room 04-1C has the Freeze Spell and you'll need to collect it in the same manner that you got the Twin Knife - by jumping across rocks that try to push you off. Once you've got it, exit back out the way you came in, back into Room 04-1D. This time, walk straight NE through the coral gap, into the wall, and you'll go through another hidden door. 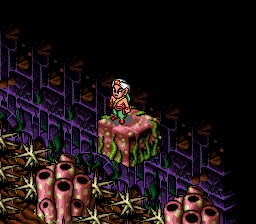 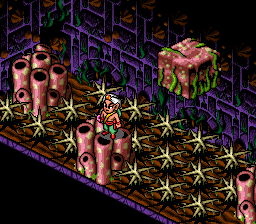 Use the moving platform in Room 04-04 to get to the Red Key. Use the moving block again to get over the NW exit. 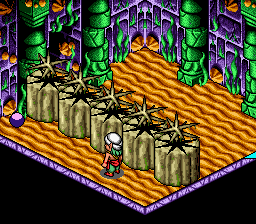 Now you can get that Token (7) from Room 04-02 that you could only see earlier. Exit back through the hidden door to Room 04-04 and use the moving block to get all the way to the SE exit. 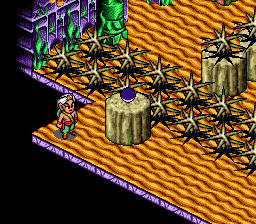 Get the Token (8) from Room 04-05 that you passed by earlier. Then exit back through the hidden door to Room 04-04 again. Use the moving block and exit back SW to Room 04-1D. Now go NW through the Red Door that I told you to ignore earlier. 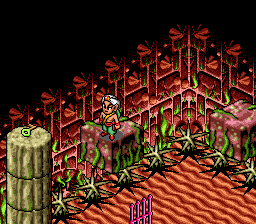 Use the moving platforms in Room 04-1B to get the Green Key. (At this point, you should really be getting used to this sort of thing by now.) When you're done, ignore the other Red Door and exit back out SE to Room 04-1D. Exit SE to Room 04-1E and leave the dungeon to return to the Overworld. Go back to the overworld dungeon entrance that takes you to Room 04-17. Hint: It's the very first one in the start of this walkthrough. The one that's just SE of that island off of Deeso. When you're back in Room 04-17, exit NE through the Red Door. 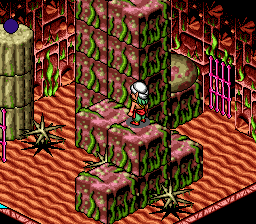 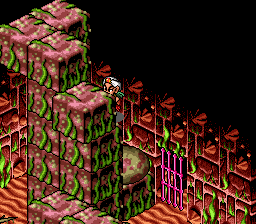 You'll arrive in Room 04-19, where you can see a Token (9) on a column. Find the movable block in the pile and push it forward. 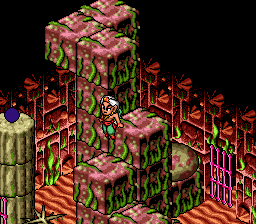 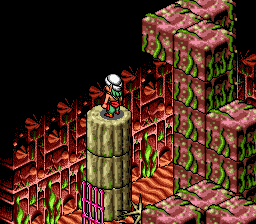 Here's the tricky part: As the block falls down, you will have to fall down onto it, and then jump from it as it moves across the spikes to the column with the Token. It's really easier to do than it sounds, but it might take a couple of practice tries to get it right. Incidentally, this is one of the rooms that made me give up on this game when I first played it years ago. I could not, for the life of me, understand the perspective in here and the fact that there's a glitch that causes one of the blocks to "peel" away as you walk around the room confused me and added to that problem. I could not figure out how to get the Token and thus gave up. However, as you can see, the solution really is pretty simple. When you're done, ignore the other Red Door and exit SW back to Room 04-17, then exit SW from there again, through the Green Door. 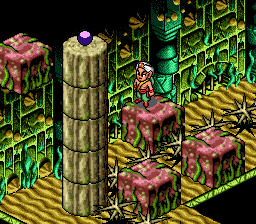 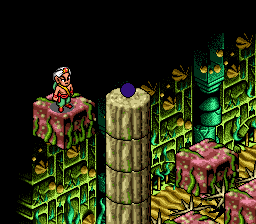 Use the moving blocks in Room 04-16 to get to the top of the column with the Token (10). Honestly, I should not need to tell you how to do that at this point. Just takes timing and practice. Exit SE through the Green Door. 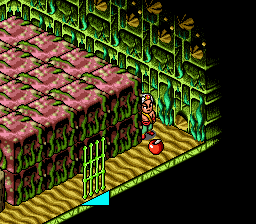 Kill the Blue Blobs in Room 04-15 to get a White Apple, then exit SE through the Green Door. 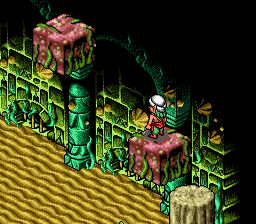 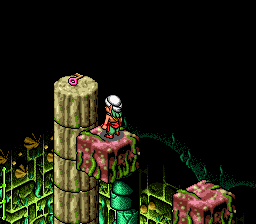 If you're following this guide, you do not need the Red Key in Room 04-13, but I will tell you how to get it anyway. No points for guessing you just jump across the moving blocks to get to it. 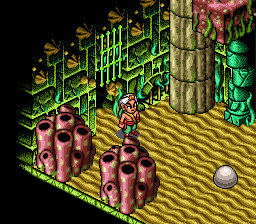 Now see those two coral blocks sitting there suspiciously with no purpose? Walk SW between them to go through a hidden door. 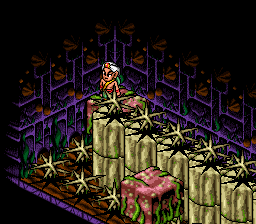 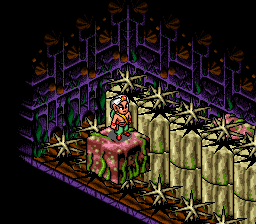 Welcome to Room 04-14, one of the hardest in Atlena. You'll have to start by jumping on the moving block to the left as you walk in the room. Now here comes the REALLY hard part. When it gets to the north corner, you will have to jump in a SW direction and BEND your jump around the corner to land on another moving block. The problems are that (A) it is difficult to time your jump to land on that block because it might be moving away from you and (B) if you don't jump exactly right and bend your jump exactly right, you'll either hit the spike on the column or land in the spikes in the pit. 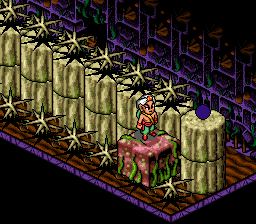 As if that wasn't enough, you'll have to leap from the second moving block to a third moving block. If you time it right, you can ride the third block down to the Token (11) and leap to it. Just be careful not to blow it at this point. Exit the way you came in, back to Room 04-13. From 04-13, exit SE through the Green Door. 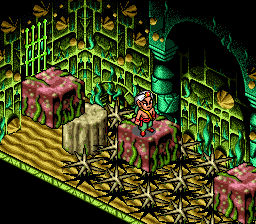  Room 04-12 requires you to leap across some moving platforms to get to the other side, but they can be a bit tricky to navigate. If you've played Castlevania 2: Simon's Quest, you might know that sometimes you have to wait for the moving block that you're standing on to be going up as the one you're going to jump to is going down to give yourself the greatest distance and to ensure you'll land on the intended destination point and not into the pit below. It's the same deal here. When you've finally gotten across, you can collect the final Token (12) from the column. 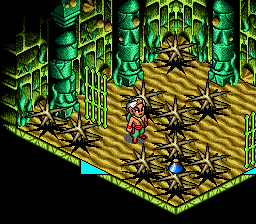 Instead of trying to navigate back across those blocks, exit NE through the Green Door to Room 04-11. You can kill the Green Blob in this room for a Blue Potion if you want. From there, go SE through the Green Door to 04-10. From 04-10, go SE to 04-0F, then NE to 04-0E. Exit the dungeon from 04-0E to the Overworld. On the Overworld, walk back to the southwestern dungeon entrance, the one that takes you to Room 04-24 (it's near the bridge to Quagmire with the boss cloud). From 04-24, wind your way all the way back around to Room 04-2D. Follow this route to get there: NW to 04-25, NW to 04-26, NE to 04-27, NW to 04-28, SE to 04-2A, SE to 04-2B, SW to 04-2C, SW to 04-2D. Now exit NW from 04-2D. 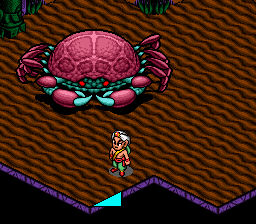 You'll fight the giant crab boss, Pincha, in Room 04-2E. Pincha can be almost impossible to beat if you don't figure out his pattern. Once you know the pattern, however, it's almost impossible to lose. The main points to understand are (1) he protects his weak spot with his claws, so you have to shoot at him as he moves his claws away from his face and (2) he follows a simple predictable pattern. See those two corners in the bottom middle of the room? Just as in the Bonehead fight way back in Dungeon 1, those two corners are your friends. In this case, you'll want to take advantage mostly of the righthand corner. Pincha has two methods of circling the room: a fast and a slow. You'll know he's about to do the fast version when he backs up to the top of the room and really rapidly moves his claws. When you see him do that, don't attack him. Wedge yourself into that bottom right corner and wait for him to pass. You are ALWAYS safe in that corner during this attack. 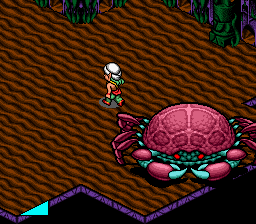 The first time Pincha does a slow crawl around the room, his claw will pass through that bottom corner and catch you, so you'll want to simply walk around behind him to avoid him. The second time he does a slow crawl, you can safely hide in that bottom righthand corner. Just keep track of what he did the last time so you can avoid him on the next. As Pincha stops to wave his claws at you, keep firing diagonally into his face. As he moves his claws, you'll occasionally strike him in the eye and damage him.  Keep up your attack long enough while avoiding Pincha's attacks and eventually he'll splatter. You'll get the fourth harp string, and a life and magic meter increase. 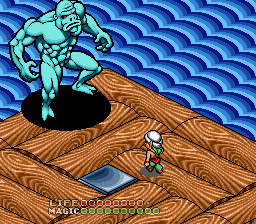 Make sure you return to the overworld at some point and fight a Troll with your Twin Knife to get another life meter increase. Trolls are easy to find around Atlena, particularly near the dungeon entrance that's right next to a stone cross. If you have trouble, you know where to find them in Galadonia.
| ||||||||||||||||||||||||||||||||||||||||||||||||||||||||||||||||||||||||||||||||||||||||||||||||
 |
|
 |