Part 4: Magus' Castle and Back to the Past
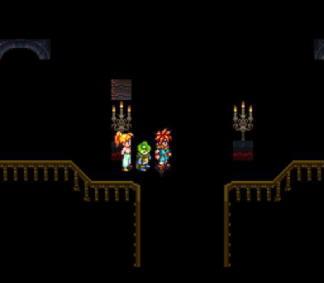
Right off the bat we can see strange things afoot in Magus' castle. In the entrance hall, at the top of the stairs, we can find a single tile of conveyor belt. While it doesn't show in this image, the belt is animated. There ARE conveyor belts in Magus' castle, but none this early on, so there's no reason for it to be there.
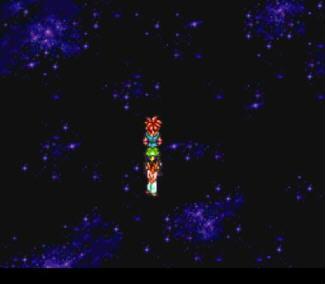
Very similar to the entrance to Magus' lair, you can head to Flea's room and peel away the floor to see the starscape flying past beneath you, long before you go to fight Flea himself.
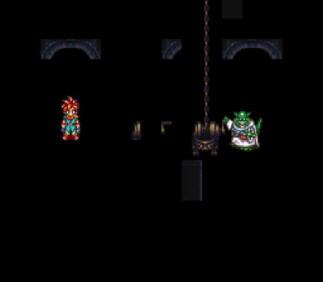
Yet another instance of sprites being stored on the maps until they're needed. After climbing the outside of the castle we see Ozzie preparing to spring a trap. Removing some sprites show the 'turning handle' animation hidden inside a wall. Also, notice the left half of an arch just above the turning handle parts. Perhaps this room was originally going to be thinner than it actually is.
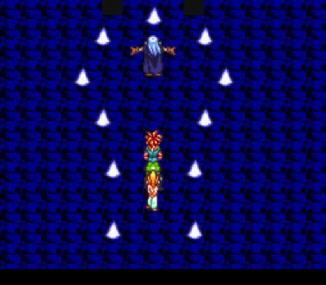
As soon as the lights go on in Magus' inner sanctum you can peel away the floor and find this strange pattern beneath it. Initially I thought it was just a nonsense pattern put there to fill up space in the memory. However, once you beat Magus a blue vortex opens up beneath him, and said vortex is comprised of this blue pattern.
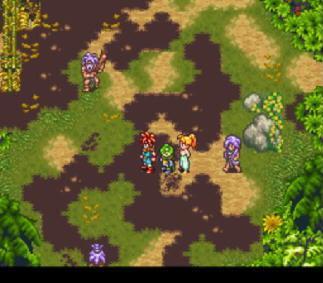
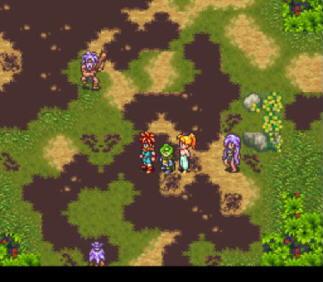
Having defeated Magus we find ourselves back in 6500,0000BC. Entering Laruba Ruins and toying around with the sprite layers shows that there are two different layouts on the floor: one of them being a lot muddier than the other (Note: I also turned off the fog layer for this map to make things easier to see).
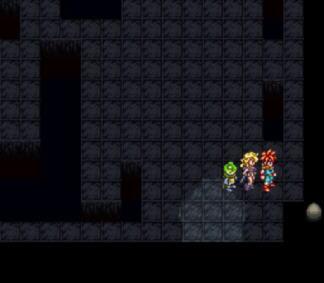
Shortly after entering the west wing of Tyranno's lair we can find another easter egg (Har har). This item egg is embedded in the wall and cannot be activated so its contents remain a mystery.
 |
|
 |