

Level 3: Deeso
Level 3: Deeso
  From the Tori overworld, go back north to the Galadonia overworld and head east. Cross the bridge over in to the desert area, which is Deeso. Keep going until you find a dungeon entrance in the northeast area. It is surrounded by a couple of cacti, a couple of Grecian columns, and some giant purple eggs. Enter and you'll fall into Room 03-10. You can kill the ghosts in this room to get a Red Apple. If you don't want to be bothered by enemies when you backtrack through rooms, kill them off and grab the item they leave behind. Enemies that leave behind an item will never respawn once the item is collected.  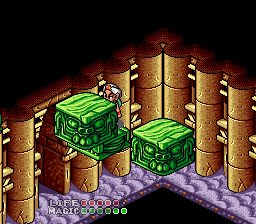 Go SE to Room 03-14. Kill the Red Ghost then push the green block on the NE side into the corner. Use it to jump up and push the green block off the upper platform. 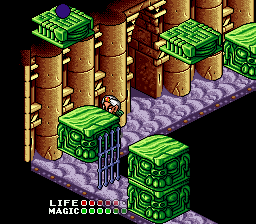 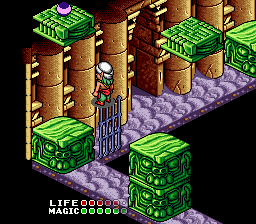 Push that block all the way down to the SW corner. Jump on it, then jump from there to the top of the rising/falling gate. When the gate rises up, jump to the platform with the Token (1). 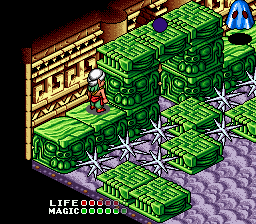 Exit NE to Room 03-15. Kill one of the Blue Ghosts on either side of the back wall by jumping up and shooting at it from a safe distance. When it's gone, jump over to where the ghost was by using the green platforms, but BE CAREFUL because they act like conveyor belts that will push you off! If you aren't careful you will land in the spikes! Once you get across, grab the Token (2) from the central arch. 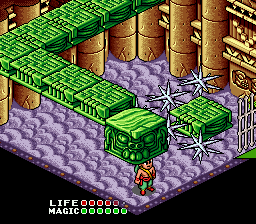 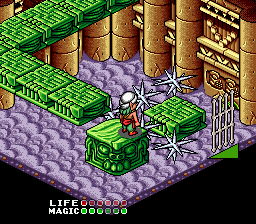 Exit SE to Room 03-1D. Immediately walk over to the bottom corner and let that green block fall on your head. Now, get it off your head by pushing it against the row of green blocks it fell from, but make sure that when it lands, you have enough room to get behind it and push it towards the spikes. When it's up against the spikes as far as it goes, jump on it, then jump over the spikes to the area near the White Door. Ignore that door for now and walk right through the NE wall. You'll go through a hidden door. 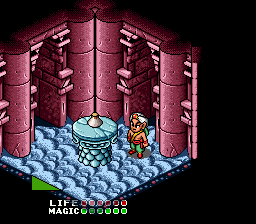 You'll end up in Room 03-1E. Nothing here but a White Potion. Get it if you need it, and exit NW. 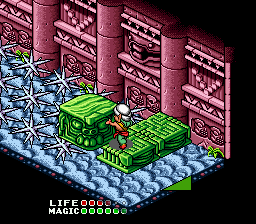 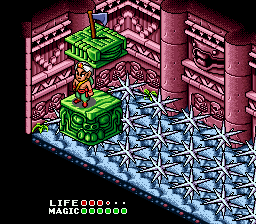 In Room 03-16, you'll need to push the big green block onto the spikes. First get on the right side of it and push it a little bit towards the left wall so that it's hanging half-off the green platforms. Then get down on the floor and push at it from the side that's hanging over. When it goes forward enough to reveal some of the green platform underneath of it, jump up onto those platforms and keep pushing it towards the spikes. (If you try to push it all the way from floor level, you'll walk right into the spikes and die. You must push it from the platforms.) When the block moves completely over the spikes it will start sliding around on them. Wait for it to come back to you and leap onto it. Ride it over and you'll see the Axe on a platform at the back of the room. Jump to it, equip your new weapon, then leap back down to the moving block and ride it back to the entrance of the room. 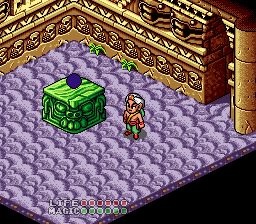 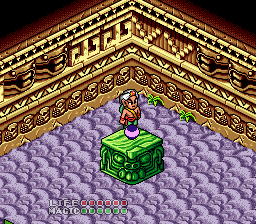 Go back to Room 03-1E and exit NE to Room 03-20. There is a Token (3) on a platform in the middle of this room, but at first it seems like you can't reach it. The Deeso dungeon likes to play around with the perspective a lot. The only trick to this is that there are a bunch of platforms leading up to the visible one that are situated in such a way that you cannot see any of them. Simply get behind the visible block and start leaping up to it until you reach the Token. 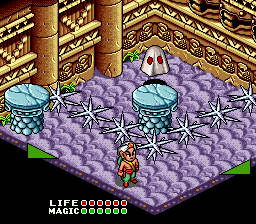 Exit NE to Room 03-25. Jump onto one of the pedestals and jump over the spikes to the back end of the room. Kill the White Ghost to get a Green Apple and to get him out of your way. Now face the NW wall and walk into it (between the two cylindrical columns). You'll go through a hidden door. 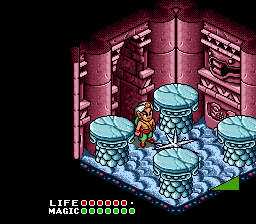 You'll be in Room 03-21. Use the pedestals to get around the spike in the middle of the room, but be careful because they'll make you slide off of them. Exit NW.  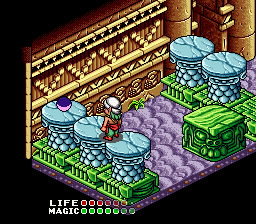 When you exit into Room 03-1F, make note of that pedestal against the wall. That marks the secret entrance back into Room 03-21. Anyway, walk in a SW direction and push the large green block down off the green platform. Kill all the White Ghosts to get them out of your way and then keep going to find a Token (4) at the back of the room. 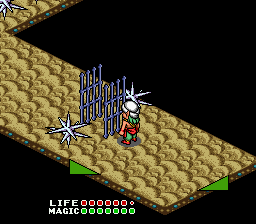 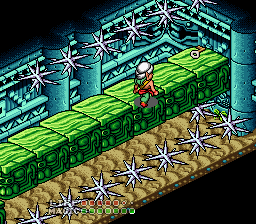 Exit NW to Room 03-0C. Wait for the two blue gates to rise up and walk underneath of them. When you get to the back of the room, you'll notice a row of green blocks with spikes lined above them. Some of these blocks will make you slide off as you walk across them, but because of the spikes, you can't jump to hold your place or go over them like you can in other rooms. Instead, start walking across the blocks at the far left edge. You should actually begin by having Glendaal's left foot hanging at least halfway off. Then just walk forward in a straight line and don't stop. You'll slide as you reach certain blocks, but as long as you began walking at the far left edge, you will not slide off. When you reach the other end, grab the White Key. Now to get back across, do the same thing as before, but this time start at the far RIGHT edge with Glendaal's foot hanging halfway off. Walk straight and don't stop and you'll make it.  Exit SW to Room 03-17. There are two Red and two Blue Spinning Devils in this room and they can be a real pain to deal with. Wait on the green platforms where you're safe until they stop spinning. When they stop to catch their breaths, jump down and attack. Kill them all for a Blue Apple and exit NW. 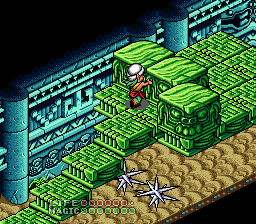 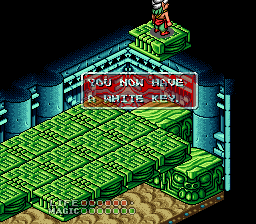 In Room 03-0B go to the back and jump up the staircase of green platforms to reach the three green blocks. Position Glendaal so that his left hand is on the leftmost block and his right hand is on the middle block. Push forward and they will both get pushed at the same time. It will be really slow going at first, so just be patient. When they are pushed far enough, they will start sliding around on the conveyor platforms. However, the middle block will stop the movement of the left block just long enough for you to be able to jump onto it, and from there, jump to the platform with the White Key. 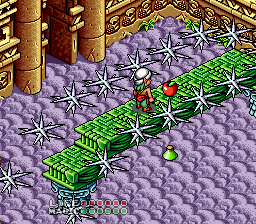 Exit SW to Room 03-0F. You'll be on a "bridge" of green platforms and you cannot walk off the sides of them because of the spikes. Instead, just keep walking straight, grab the Green Apple, and exit SW to Room 03-10, which is the room you started in. If you want to save your progress, you can leave the dungeon from this room, but make sure you come back. This time exit NW from 03-10 to Room 03-0E. 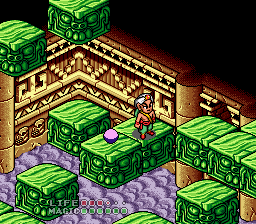 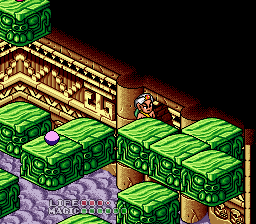 Room 03-0E is another one that screws around with the perspective. Jump to the green block in the back corner then jump SE to the next block (actually, it's possible to jump to this block from floor level). From there, jump SE again to a hidden block, and then jump SE again to end up on the block that is visible.  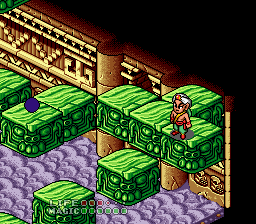 Turn and jump SW to the row of three blocks. Walk over to the rightmost block and jump SW to the next block. Then jump SW again to the next block. 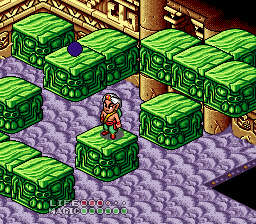 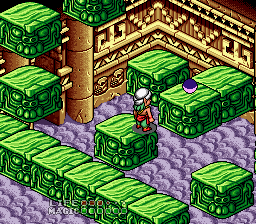 Now turn and face NW and jump over to the next block. From there, turn and face NE and jump over to the Token (5). If you want a Red Potion, you can find one in this room by continuing to jump across the blocks, but good luck because the perspective is really confusing in this room. When you're all done, exit NE. 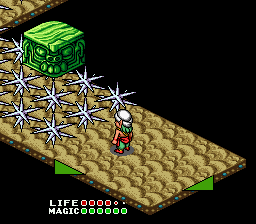 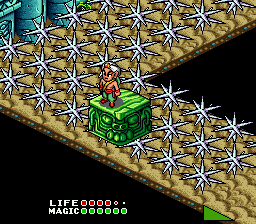 In Room 03-0A, wait for the green block to come to you and leap onto it. Ride it across the spikes to the back of the room. 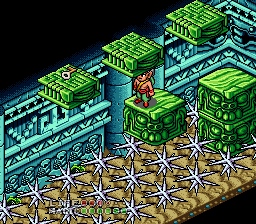 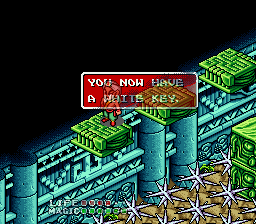 Jump the other green blocks, and from there, jump up to the green platforms, but be careful because you will start to slide off of them! Jump very quickly across those platforms to the one that has the White Key. You can either try to fall back onto the moving block from there, or work your way back across the platforms and down to the lower green block pedestal and go from there. Exit SW back to Room 03-0E. 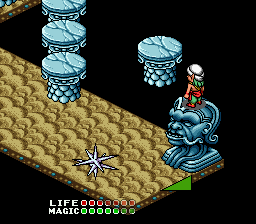 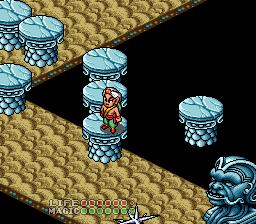 Room 03-0E has two NW exits. Take the one that goes through an actual doorway, not the one that's only represented by an arrow. You'll be in Room 03-09, which is yet another room that tries to mindfuck you with the perspective. Leap to the Olmec head, face NW and leap to the floating pedestal. Face SW and leap to the next pedestal. From there you can just walk across those other two pedestals that are lined up with it diagonally. From the one in the very back face NW and jump across to the next pedestal. 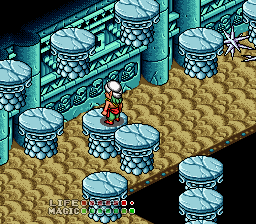 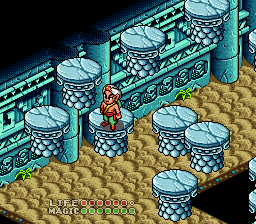 From that pedestal walk to the adjacent one, face SW and leap to the next pedestal. Face NW and leap to the next one. 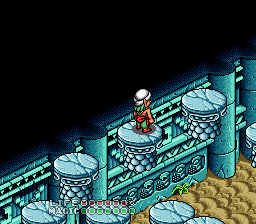 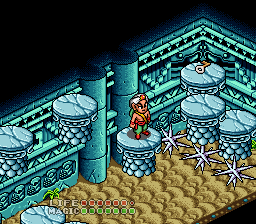 From there, turn NE and keep leaping NE until you end up on a lower pedestal and then leap NE one more so that you're on the low pedestal just in front of the spikes. From that one, leap NE over the spikes. 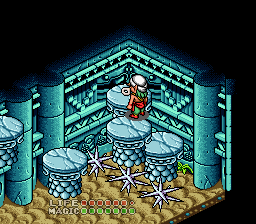 Get the White Key, then leap SW from the pedestal that had the White Key to get back across the spikes. Exit SE back to Room 03-0E, and this time take the other NW exit, the one that's represented by only an arrow on the floor, to Room 03-08. 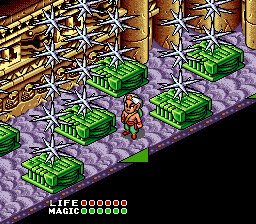 Room 03-08 might look intimidating at first, but all you have to do is walk between the columns of spikes and just don't jump into them and you'll be fine. Exit SW. 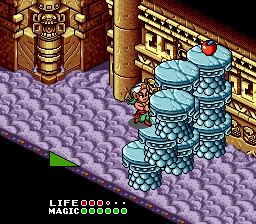 Room 03-07 has a Blue Apple if you need it. To get it, just jump up into the left pile of pedestals and they'll move. When you're done, exit SW. 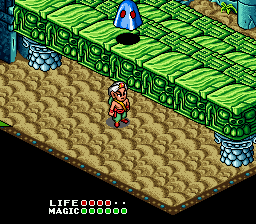 Room 03-06 has a single Blue Ghost that you can kill for a Red Apple. Drop down to the other side of the green blocks and exit SW. 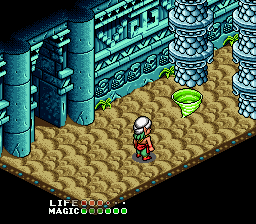 Kill the Green Devil in Room 03-05 for a Green Apple and exit NW. 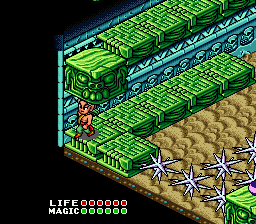 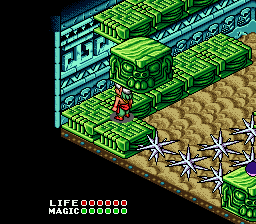 When you enter Room 03-01, try to get onto the green platforms in the SW corner so that the green block falls on your head. If you can't there in time from the SE exit, exit NE and come back in through that entrance. You want to get that block to land on the green platform that juts out from the others (the one that does NOT act as a conveyor belt). Push the block off your head by pressing it against the upper row of platforms. 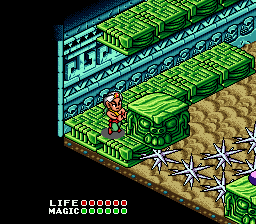 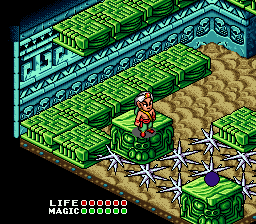 Now you have to push that block over the spikes, but it's not easy because every time you get behind it, the conveyors move you away from it. Just keep doing it over and over again until it moves enough so that you can get on the stable platform and continue to push it from there. Once it's over the spikes, use it to get to the Token (6). Then jump across the NE green platforms to get back across the spikes. Be careful because those platforms also act as conveyors and will push you off onto the spikes if you're not quick with your jumps. When you're done, exit NE.  Room 03-02 is an Entrance/Exit room. You can get a Green Apple and Green Potion here, and exit to save your progress if you desire. The tricky thing about 03-02 is that it has two NE doors that are side-by-side. You want to take the upper one, the one that would be on Glendaal's left when he's facing them.  This will put you in Room 03-00. Exit SE. 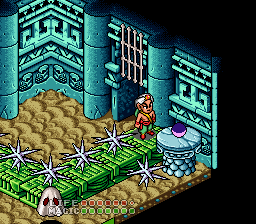 You'll end up in Room 03-03, on the side you need to be on in order to get the Token (7). Kill the White Ghost to get it out of your way and grab the Token. If you are desperate for a White Potion, you can go from the Token pedestal to the floor and kill the other White Ghost for one. However, if you do that, you'll have to go all the way back around through Rooms 03-02 and 03-00 to get back to the area with the White Door in this room because of the spikes. If you're following this walkthrough, you have plenty of White Keys at this point, so exit NE through the White Door. 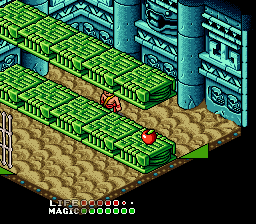 In Room 03-04, kill the Green Ghost for a Green Apple, and exit SE. You'll be back in Room 03-07. This time walk all the way to the southeast end of the room (remember to jump up against the lower pile of pedestals to move them out of your way.) Exit SE. 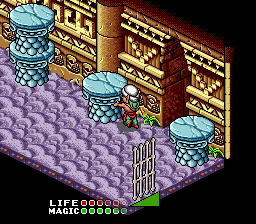 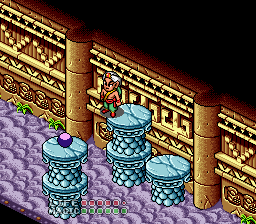 In Room 03-12, walk down to the other end of the room and you'll pass by a Token (8) on a pedestal. When you get to the other end of the room, you'll see two pedestals alongside a NE door. Push the upper pedestal back up to where the token was, and use it as a platform to get up and leap over to it. When you're done, exit SE through the White Door. 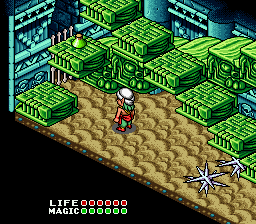 Room 03-18 is a long hallway that has a "staircase" of blocks on each side. You'll need use those to get across the spikes in the middle of the room. This room has a Green Apple and Green Potion if you need them. Exit SE.  Room 03-19 is another optical illusion room, but it's very easy to solve. If you look carefully at the platforms, you'll notice that you can only see the complete unobscured tops of four of them. Those are the only ones you can leap to, so use those to reach the Token (9). Then exit SE.  Room 03-1A is a huge room, but doesn't have much in it. Kill the two Blue Ghosts for a Blue Apple and exit SW. 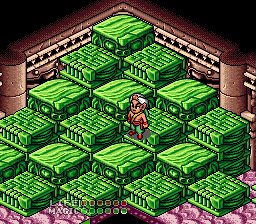 Room 03-1B is another Overworld Entrance/Exit. You can save your progress here if you want. Otherwise, exit SE. 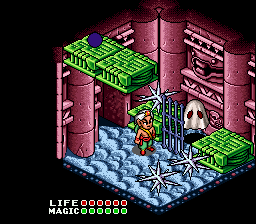 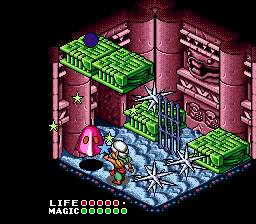 Room 03-1C is a little tricky. Wait by the blue gate, but not directly in front of it. When it rises, the White Ghost will shoot out. As soon as it passes, get in front of the blue gate. The White Ghost should get stuck going back and forth against the NW wall. You can attack it safely from there. 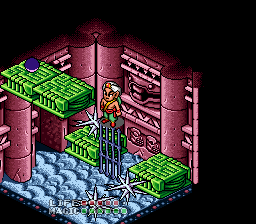 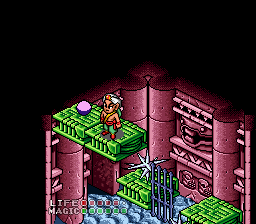 When the Ghost is gone, walk under the gate, jump to the green platform that has no spike, and from there jump to the top of the gate. When the gate rises up, leap over to the platform with the Token (10). 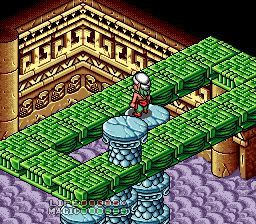 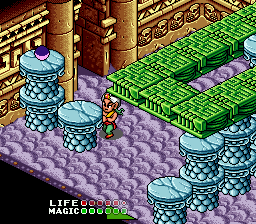 From Room 03-1C, you'll want to go all the way back to Room 03-12. (Take Room 03-1C to 03-1B to 03-1A to 03-19 to 03-18 to 03-12. It's a straight path all the way.) From Room 03-12, exit NW to Room 03-13. This room is a PAIN! There is a pedestal circling around a ring of conveyers at the top of the room. Jump up there and try your best to push that pedestal down onto the floor. If your timing isn't right it won't work, so just keep trying. The game's demo shows this room, so refer to it if you need more help. Once that pedestal is down there, push it over so that you can use it to get the Token (11). Then exit NW. 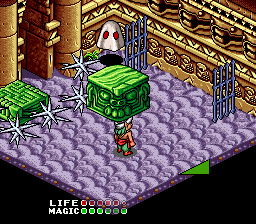 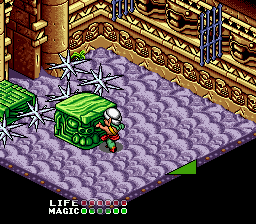 In Room 03-11, immediately step to the left so that the green block falls and lands on your head. Kill the White Ghost for a Green Apple and to get it out of your way. Use the rising/falling gates to get the block off your head and make sure there's enough room behind it when it falls on the floor so that you can push it over to the spikes. Use it as a platform to cross the spikes. Exit NW. 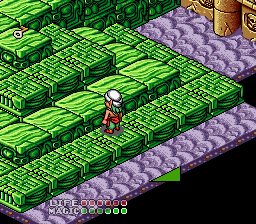 Get the White Key in Room 03-0D. Instead of dropping down to the other side of the blocks, turn around and go back out the way you came. Return to Room 03-13, go NE to 03-14, and NE again to 03-15. (You've been through these rooms before, but we need to backtrack a little.) From 03-15, exit SE. You'll be in Room 03-1D again. Do exactly what you did before with the green block to get across the spikes. This time, exit SE through the White Door. 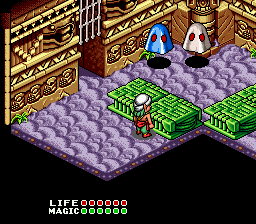 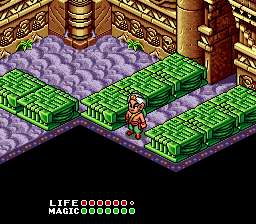 In Room 03-22, kill all the ghosts to get a Red Potion. You'll see a NE door, but instead of going through there just yet, walk straight SW from that door. You'll go through a hidden door in the wall (see screenshot). 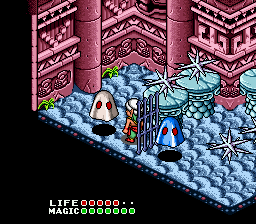 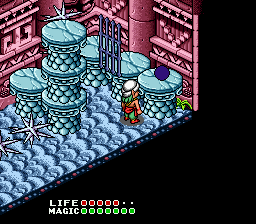 Kill the ghosts in Room 03-23 to get them out of your way. You might have to wait for the White Ghost to come to you. Just deal with them the same way you have before. When they're gone, get the Token (12) from the other end of the room. Exit back the way you came to Room 03-22, and this time exit through that NE door you saw earlier. 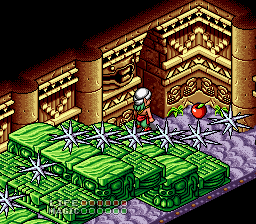 Room 03-24 has a bridge of green blocks through the middle that is divided in half by a line of spikes. There are two Green Apples, one on each side. Get them if you need them. You'll want to eventually be on the southern half of the bridge so you can exit SE. 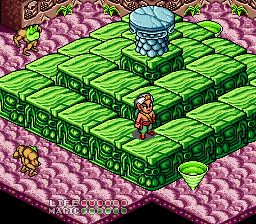 Room 03-29 is an Overworld Entrance/Exit room and another chance to save your progress if you so desire. Kill the Spinning Devils in this room for a Blue Apple and exit SE. 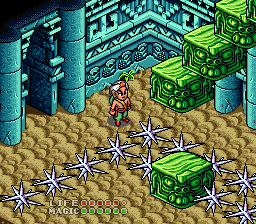 Jump up the staircase of green blocks in Room 03-2A to get a Red Potion (if you need it). Stand on the upper-leftmost block (the first one at the top of the "stairs") and jump SW to land on the green block below and safely past the spikes. Exit SW.  Room 03-2B has two really long rows of Olmec heads. I guess it must be the Olmec head storage room. You can kill the White Ghost in here for a Red Apple. Otherwise, exit SW. 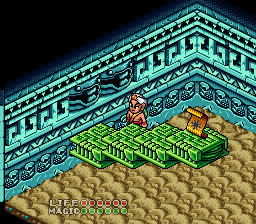 Kill the Spinning Devil in Room 03-2C to get him out of your way. The Damage Spell is on a platform in this room. The only thing you need to know is that some of the platforms you have to leap on to get up to it are hidden behind the visible platforms. It's not hard to figure out. NOTE: Some of the enemies in this dungeon can be tough or time-consuming to kill. If you find anything too difficult, you can always come here to get this spell first, which you allows you to damage and kill enemies in a room without using your weapon on them. 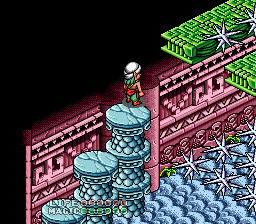 Exit Room 03-2C and go back a few rooms to 03-29 (the Entrance/Exit room). 03-29 has two NW doors. Take the one that is an actual doorway, not the one that's only represented by an arrow. You'll be in Room 03-26. Kill the two White Ghosts in here for a White Apple, then proceed to the back of the room. Use the pedestals and platforms to evade the spikes and get across to the White Door. Exit NE. 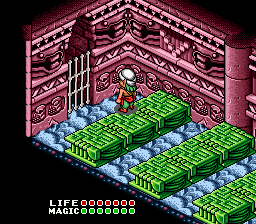 Kill all the Spinning Devils in Room 03-27 to get a White Apple. Exit NW through the White Door. 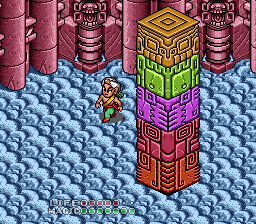 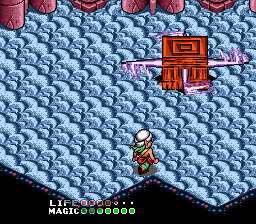 In Room 03-28 you will face the boss, Quetzalcoatl. It is a giant moving totem pole. Just try to get behind it and keep firing your axe at it as you follow it around. Each time it gets hit, it jumps into the air. It will sometimes change direction and come back at you, but you can either (a) step out of the way or (b) shoot it with your weapon again and go underneath as it flies up in the air. As you continue to damage it, the blocks will fall off. When it's down to one block, it eventually sprouts spikes and starts spinning wildly around the room. You can use the alcoves at the bottom of the room to "hide" from it and continue attacking. It doesn't take many more hits to kill once it reaches this phase. When it's down for the count, you'll receive a life and magic meter increase and another Harp String. 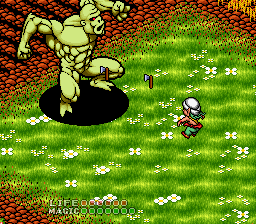 Make sure to return to the Overworld at some point and fight a Troll with your Axe to get a life meter increase. I can never find Trolls on the Deeso overworld, so I walk back to Galadonia and fight one there where they appear much more frequently.
| ||||||||||||||||||||||||||||||||||||||||||||||||||||||||||||||||||||||||||||||||||||||||||||
Interesting thing to note: He gets the Token in Room 03-01 in a different way than I recommended in the walkthrough. It's up to you which method you choose.
 |
|
 |